
How to grow dahlias: A beginner’s guide.
Dahlias may look like divas, but growing them doesn't have to be complicated.
Whether you're planting your first tuber or fine-tuning your technique, this guide will help you grow stunning blooms from the ground up.
Choosing the right spot
Dahlias thrive in full sun, ideally receiving 7–8 hours of direct sunlight each day. If you live in a hot climate, some late afternoon shade can help prevent heat stress. In Missouri, where summer temps can soar above 100°F, I’ve tested planting on the east side of my house for afternoon shade after 2 p.m. The plants stretch for sun and grow huge!
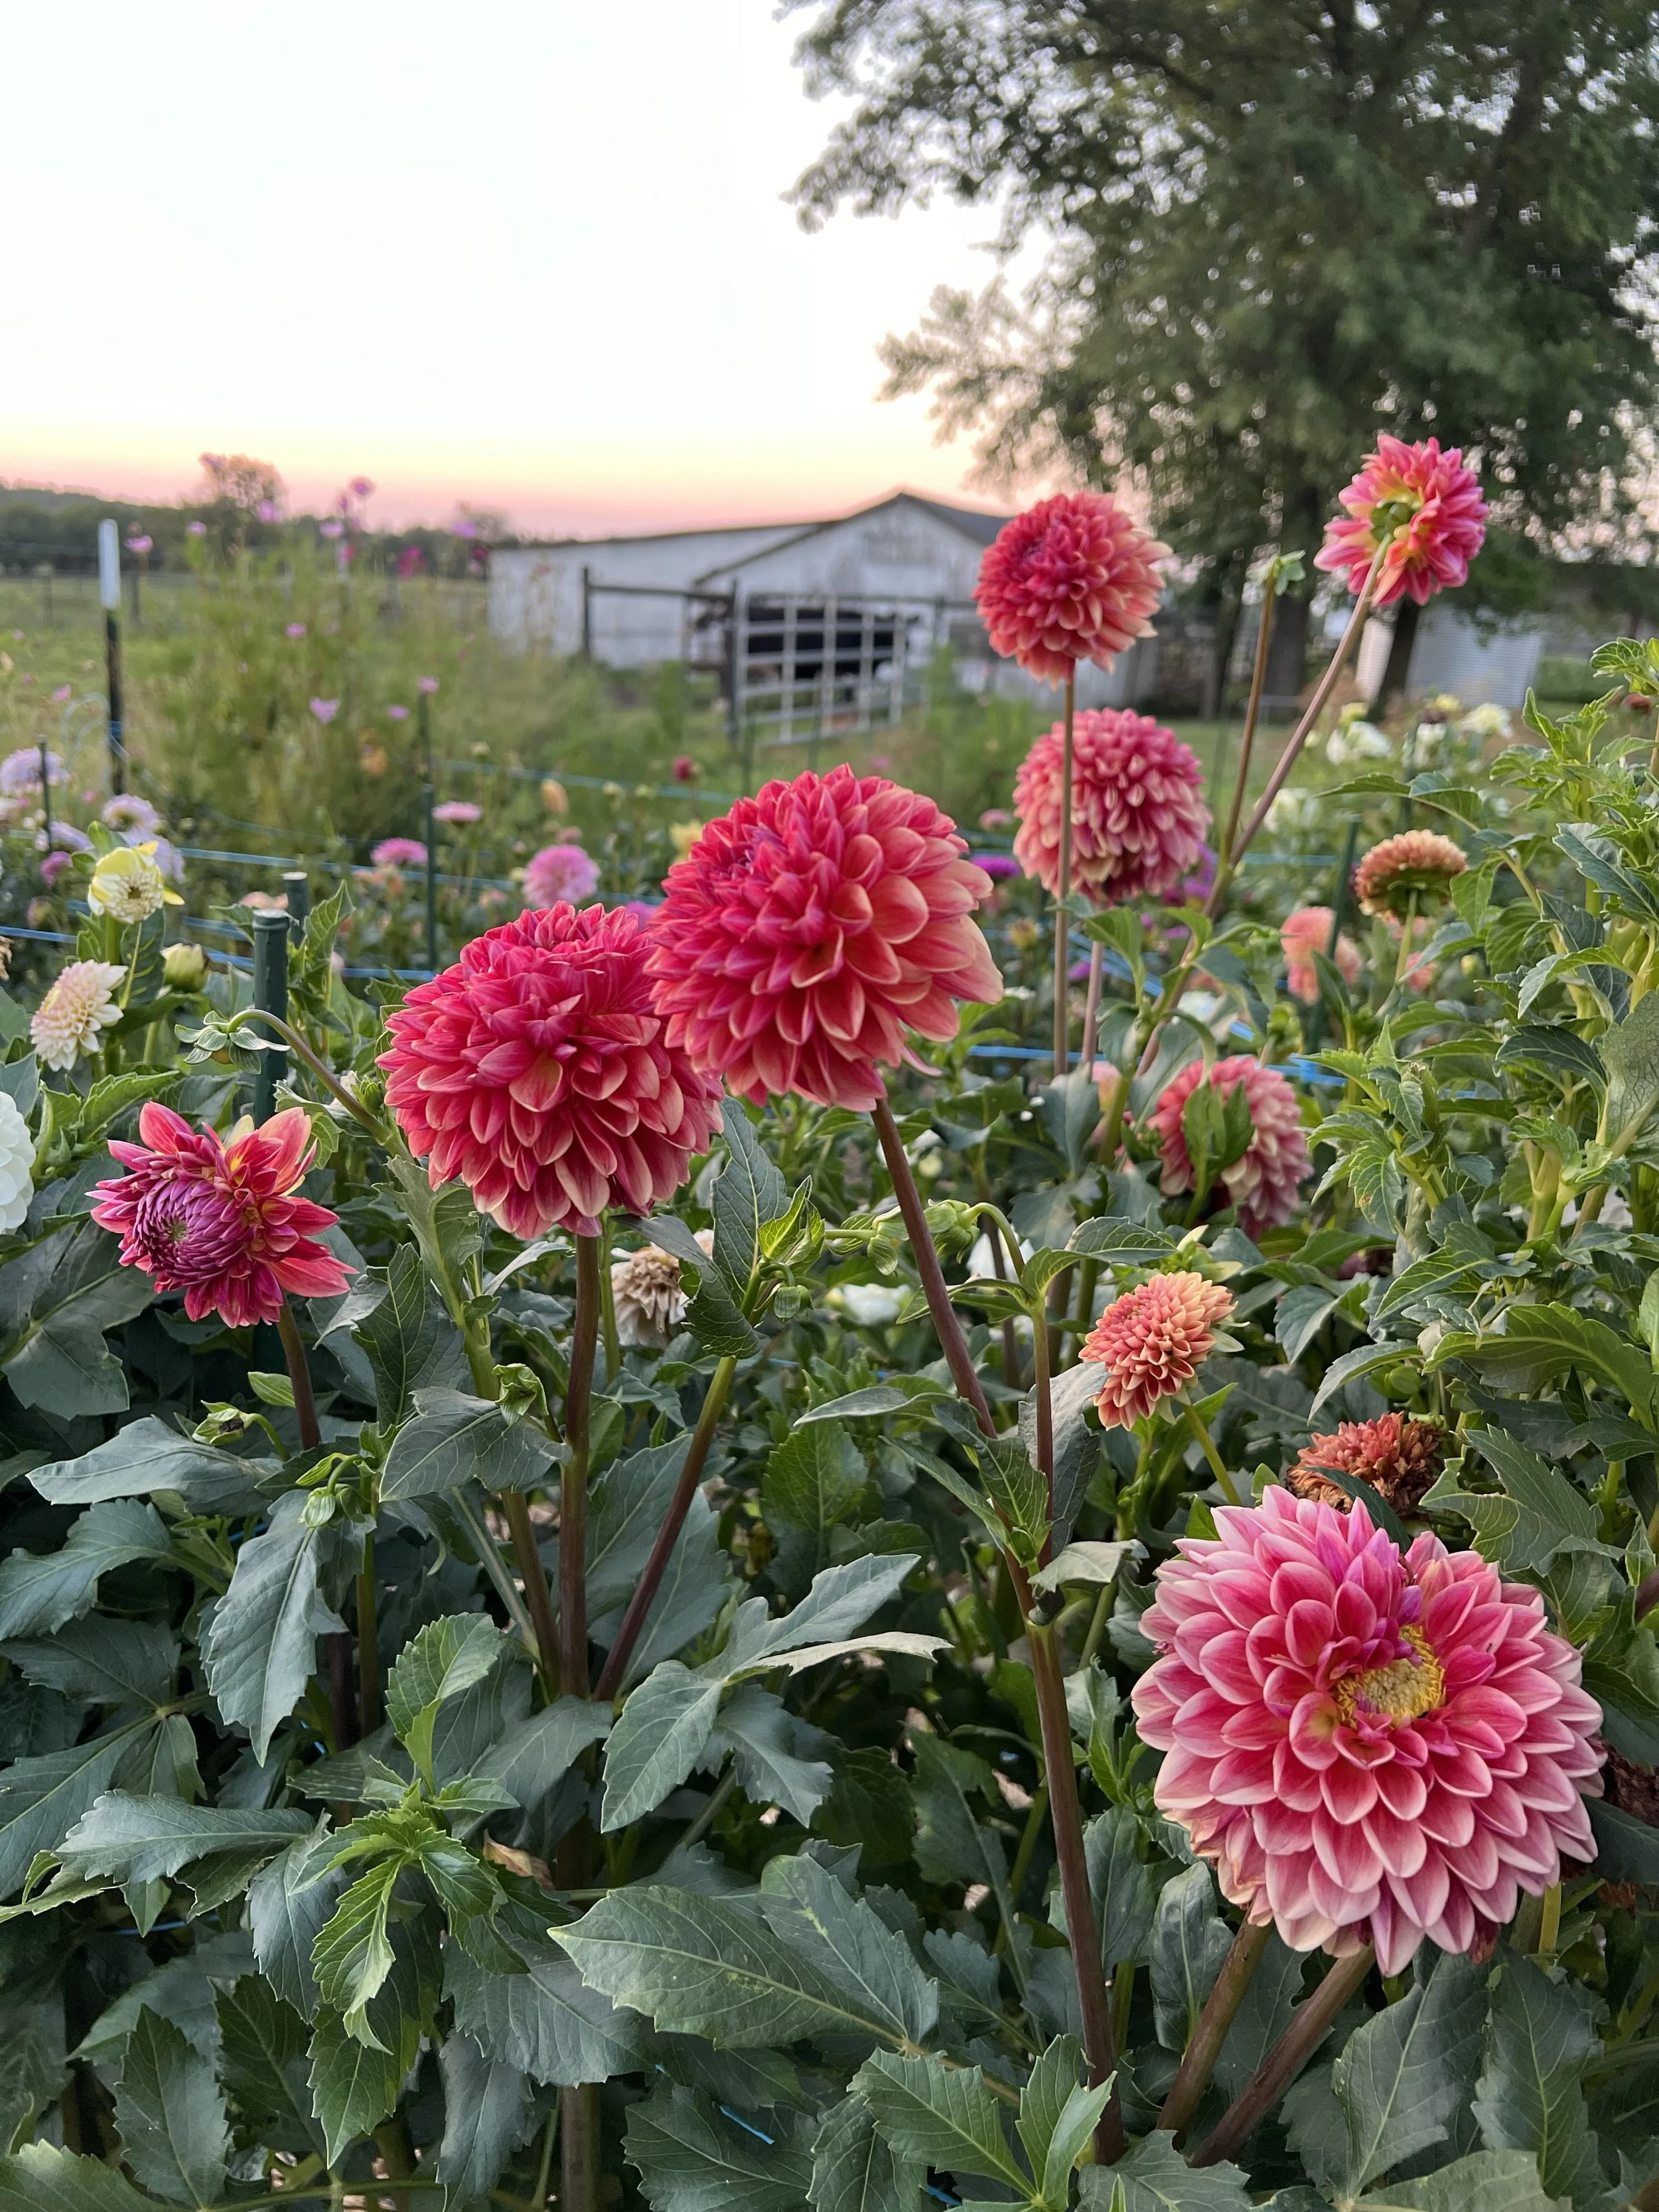
This year, I’m planting everything in the open field for maximum sun exposure.
Also, make sure your soil drains well. I rake my garden into rows and plant tubers in hilled areas so heavy rains can drain off easily. Because dahlias grow from tubers, sitting in soggy soil can lead to rot, especially in low-lying garden spots.
Prepping your soil
I would recommend starting with a soil test. It’ll give you a snapshot of your garden's health revealing your soil type, organic matter percentage, and whether you need to amend anything before planting.
I’m lucky to live near our state university, which allows me to drop off samples for $30–$60. I’ve also mailed samples to national labs for more detailed results.
For nutrients, I recommend mixing in rich compost or aged manure. My family raises Angus cattle, and last year my brother-in-law added well-aged manure to the garden. I used it as a top dressing on my rows and saw a huge difference in growth of all of my plants.
If you compost at home, use what you’ve got! Otherwise, bagged or bulk compost from a local supplier works great too. You can mix it into the soil before planting or apply it as a top dressing if you want to minimize soil disturbance.
Even with compost, your dahlias may benefit from a balanced fertilizer at planting time. I recommend a granular option like 10-10-10 either worked into the soil as you plant or sprinkled on top afterward.
Planting dahlia tubers
Dahlias love the summer sun and aren’t frost-tolerant, so they should be planted after the last frost date in your area. If you’re unsure of yours, just Google your city along with “last frost date” to find an estimate. For example, here in Missouri, mine typically falls between April 11–18. I aim to plant dahlias and other summer annuals around April 15.
There are many ways to plant dahlias, I’ve tried quite a few with both successes and lessons learned. Once your last frost date has passed, the first thing to check is your weather forecast. If rain is predicted every day, hold off until things dry out a bit. Dahlias don’t like soggy soil at planting time. If the forecast looks dry, you’re good to go.
I usually use a mix of pre-sprouting tubers and planting them directly in the soil. When planting directly, make sure the tuber has a visible “eye.”
In my field, I plant dahlias in rows that are 24–30 inches wide, with two tubers spaced 12 inches apart across each row. I dig holes about 6 inches deep, lay each tuber horizontally with the eye facing up, and cover it with soil. If the soil is extremely dry, I’ll moisten it slightly before planting—just enough to create a warm, welcoming environment for the tuber to wake up. You should see sprouts breaking through the soil in about 2–4 weeks.
Curious about pre-sprouting and how it helps jumpstart growth? Check out my post 👉 Why I pre-sprout dahlia tubers.
To pinch or not to pinch
Pinching dahlias encourages branching and results in more blooms. Once your plants are about 8–10 inches tall and have at least 3–4 sets of true leaves, you can pinch them by snipping or gently breaking out the central growing tip. This signals the plant to send out new branches from the nodes where the leaves meet the stem, leading to a fuller, bushier plant.
I pinch all of the dahlias I grow for cut flowers to maximize bloom production throughout the season. It’s a simple step that makes a big difference.
Staking
Dahlias can grow large and lush, but their stems are hollow and sometimes brittle, meaning wind or rain can easily cause them to bend, split, or break. Staking and tying your plants early in the season helps keep them upright and blooming strong.
If you’re growing just a few plants, place a 4–5 foot metal or wooden stake into the soil right next to each tuber at planting time. Once the plant reaches 2–3 feet tall, use garden twine or soft ties to loosely secure the central stalk and a few outer branches to the stake.
For larger plantings, like my rows of 34 dahlias, I use a different system. I start by placing a t-post at each end of the row, then add 4-foot metal stakes every 5 feet along the row. I run twine from one t-post, zig-zagging it between the dahlias, around the opposite t-post, and back down the other side of the same row. Then I run a second line of twine in the opposite direction, weaving between the stakes to create a wide criss-crossed support—like a corral. This method worked beautifully last year and is now my go-to system for support.
Watering needs
How much water your dahlias need depends on your soil type and summer temperatures. If you have sandy soil, it drains quickly and may require more frequent watering. On my farm, I have clay-based soil, which holds moisture longer, so I can water less often.
Temperature also plays a role. In areas with mild summers, dahlias may not need as much water. But if you're growing in a region where temperatures regularly climb into the 90s or higher, your plants will need more consistent hydration. In hot climates, I typically recommend a deep soak 2–3 times per week, or less if you're also getting steady rainfall.
Fertilizing
If you haven’t had your soil tested, a balanced fertilizer like 10-10-10 is a good place to start at planting time. As the season progresses and your plants start producing buds and blooms, they may benefit from a bloom-boosting fertilizer with higher phosphorus content—something like 10-30-20 or 15-30-15.
These help support strong flower production and overall plant health as your dahlias hit their stride.
Pest management
Healthy, well-fed plants are naturally more resilient to pests, so keeping up with watering and fertilizing can go a long way. I check my plants daily as I walk the rows—most issues can be caught early before they become a problem.
When my dahlias are just starting to grow, I sprinkle Sluggo Plus, an OMRI-listed product, to manage earwigs, slugs, snails, and a few other common pests.
As buds begin to form, you can use organza bags to protect each bloom from insect damage—especially helpful if you’re growing for cut flowers. If you run into persistent issues with other pests, I recommend identifying the culprit first, then researching organic or conventional treatment options that match your growing style.
Harvesting and dead heading
Dahlias are at their best when harvested or deadheaded regularly. The more you cut, the more they bloom—so don’t be shy with the snips!
For cut flowers, the best time to harvest is in the early morning when the blooms are cool and hydrated. Choose blooms that are about ¾ of the way open, this stage gives you the best vase life. Give each stem a fresh cut, place it immediately in clean water with flower food, and let it hydrate for a few hours before arranging.
For deadheading, check your plants a few times a week and remove any spent blooms. Dead or fading flowers left on the plant will signal the dahlia to slow down blooming and start producing seed pods. To encourage continuous production, snip the stem back to just above a set of leaves or a new bud.
If you’re unsure whether a flower is ready to cut, check the back of the flower head, if the petals are brown and easily pull or fall off the flower to too old to use as a cut flower and should be removed.
Regular harvesting and deadheading not only keep your plants looking tidy but it keeps them blooming all season long.
Digging and Storage
I’m in USDA Zone 6b, which means our winter temperatures dip low enough to freeze the soil, and dahlia tubers don’t survive a freeze. Once a tuber freezes, it thaws, rots, and is no longer viable. So each fall, I dig and store every tuber to protect them through winter.
After the first hard frost blackens the plants, it’s time to dig. I tag each plant near the base with a plastic label that includes the dahlia’s name and I pull the plastic stake that marked the variety in the field, keeping it with the corresponding clump for easy tracking.
Cut the stalks down to about 4–6 inches, then gently lift the clump using a pitchfork or shovel, being careful not to damage the tubers. I shake or brush off excess soil and let the clumps dry for a day. Ideally, I do this on a cool, sunny day to speed up the drying process.
Once dry, you can divide your tubers (if you’d like) or store them whole. I’ve had the most success storing clumps with a bit of soil still on them, packed in peat moss. I layer peat moss on the bottom of a plastic bin, nestle the clumps on top, then add another layer of peat moss to cover. I don’t use a lid as too much trapped moisture can lead to mold and rot. The peat helps maintain just enough humidity to prevent shriveling while avoiding excess dampness.
Store your bins in a dark, frost-free space like a basement, insulated garage, or root cellar. Temperatures should stay between 40–50°F, with relatively high humidity to keep the tubers from drying out over the winter.
Check your stored tubers once a month through winter. If any feel soft or shriveled, they may need more humidity. If you spot rot, remove those tubers to protect the rest.
With a little care, you’ll be able to save your favorites and replant them for another season of blooms.
Dividing dahlia tubers
Dividing dahlias isn't required every season, but it’s a great way to multiply your favorite varieties, save storage space, and ensure vigorous plants for the coming year.
You can divide tubers either in late fall after they've cured, or in early spring before planting. Some growers prefer to divide in fall when the eyes are easier to see after a few days of drying, while others wait until spring when emerging growth makes the eyes more obvious. Choose whichever works best for your schedule and storage setup.
To divide, start with a clean, sharp knife or pruners. Identify the crown, where the tubers were attached to the stem, and look for visible eyes. These are the growth points that will produce new plants.
Each division must include:
a piece of crown
at least one viable eye
a solid, unbroken neck
and a healthy tuber body
Tubers without eyes won’t grow, even if they look plump.
Be gentle when separating the clump, tuber necks can snap easily. Discard any tubers that are shriveled, moldy, or broken off from the crown. Once divided, you can re-label them and either re-store for spring or pot them up to pre-sprout indoors. I like to write the name directly on the tuber body using an indelible garden marker.
It’s a bit of a learning curve, but once you’ve divided a few, you’ll get the hang of it and your dahlia collection will thank you!